Outline
Wireframes
Lighting and Material
Random Space
Boundaries
Warp Speed away
Improved Warp Speed
Rail game background
Github
Wireframes
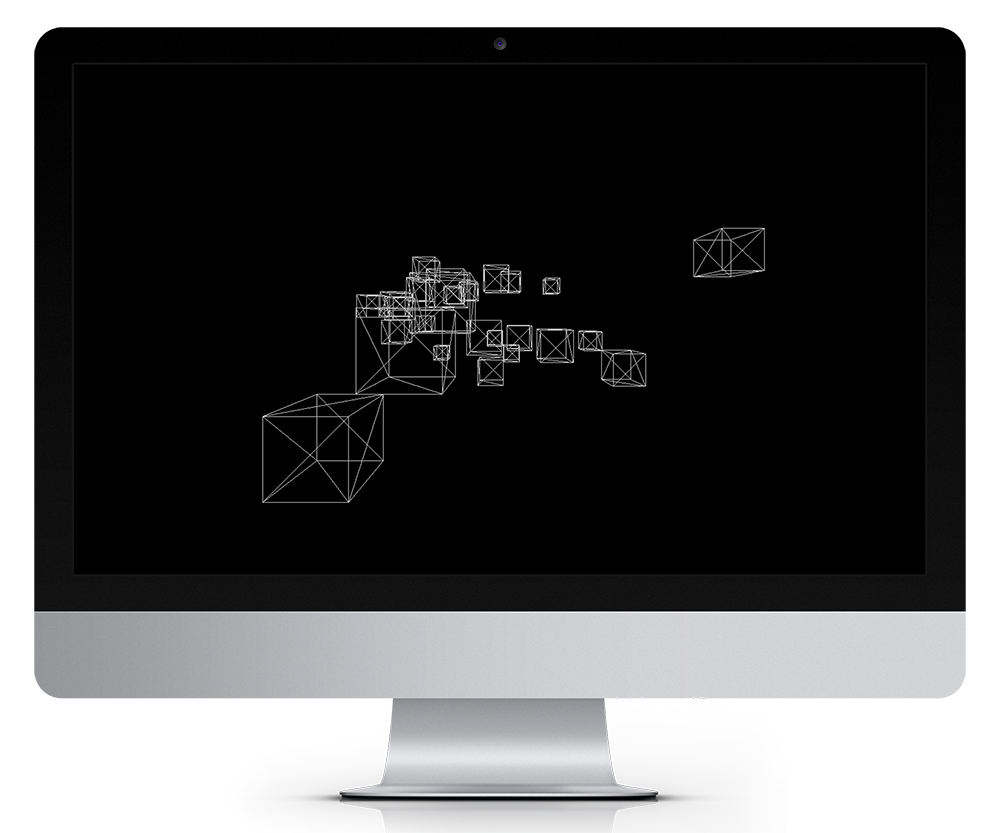
The goal with this exercise was to learn the basics on how to create a 3D scene with geometry. I became familiar with the concept of meshes being composed of a geometry and a material, which are then added to the SCENE object for rendering. I used an Object to store the initial meshes, then added them to an Object3D; I later refined my approach once I understood how to properly employ the different container elements.
The basic wireframe approach involved creating a SCENE, CAMERA, and a renderer (which combines a SCENE and CAMERA to create what appears in the CANVAS element in HTML5). After that, I used a loop to create multiple MESHES using a Cube and a basic mesh material from ThreeJS. The last component was to create an animation cycle to move the group of boxes back and forth. This was done by putting a function to create movement inside of the render function (which behaves as a loop running at 60 FPS).
Lighting and Material
Once I understood the fundamentals of creating geometry and animation, I went back and made the cubes solid. This required using a Lambert material for the mesh with flat shading, in contrast to the basic material with wireframe. To complete the scene I needed some light for the material to receive so that the cubes would be visible, so I created some directional lights which got me familiar with those elements.
Random Space
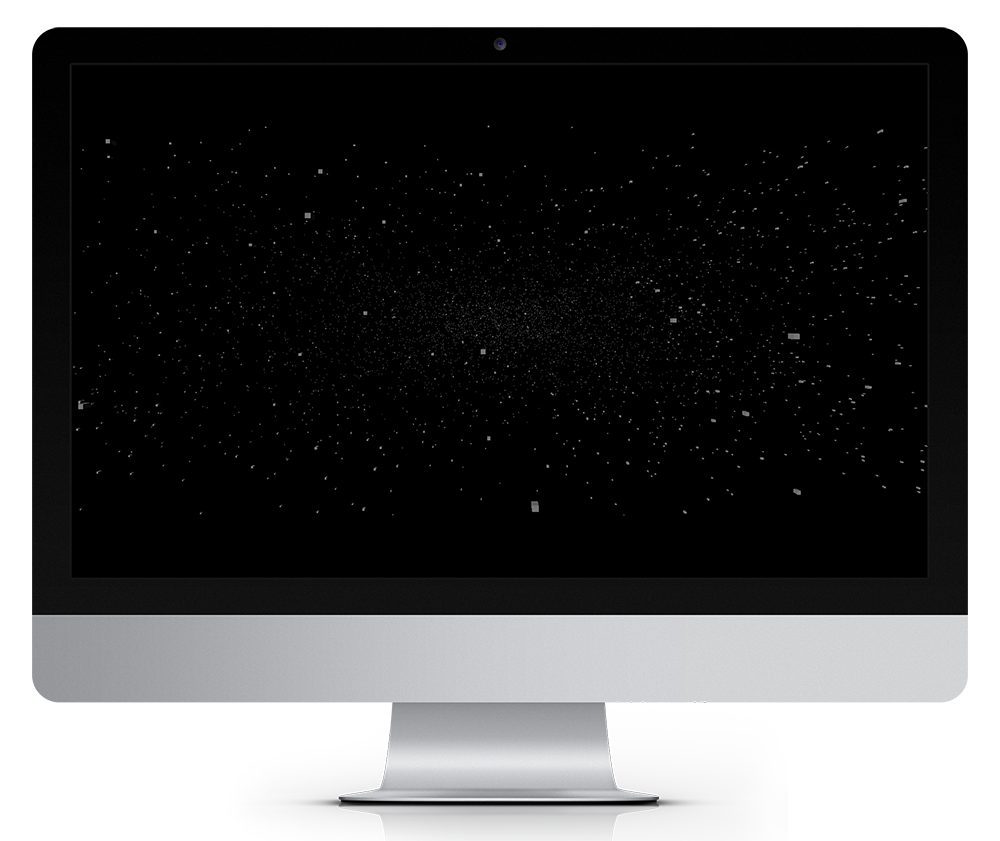
This exercise was an extension of the shaded cubes, where I wanted to see just how much I could push the capabilities of the webGL engine. I brought the size of the cubes down dramatically and increased the creation loop so that 10,000 cubes would be generated. The goal was to get an sense of the number and size required in order to create a dense field of objects. I decided to use small cubes since they would be easier to render than spheres, and because the size of the elements I wanted in the scene didn’t really justify using spheres. Make the cubes small enough and the casual eye would not be able to tell the difference.
Boundaries
I decided to combine the bouncing between boundaries action of the wireframe exercise with the random star field to help me get an idea of the change in performance if I animated a large number of objects in the scene at once. The results were somewhat predictable; despite the simplicity of the objects in the scene, having thousands of elements to animate sapped the processing strength out of my older processor. This experience made me somewhat wary of using ThreeJS for incredibly complex concepts I had since there would undoubtedly be limits from a performance standpoint on who could enjoy it, in addition to any incompatibilities with browser support.
Warp Speed away
Ever since I stopped needing to use the screen saver program After Dark I had missed the warp speed screen saver and decided that ThreeJS would provide a good opportunity to recreate it and learn about how to manage a scene. Using the star field boundary example I changed it so that the star field would come towards the viewer and then disappear. The entire star field was generated, rendered and animated in one go. The downside of this approach became apparent quite quickly so I set about rewriting the code to continuously generate stars and animate them.
The distribution of the stars during the animation ended up being uneven, which I set out to address when recreating the scene. Since the entire star field was rendered and then animated as one unit, the scene would have motion but lack a sense of dynamics. Before I decided to implement a continuous random star generator I toyed with the idea of creating the warp speed effect by creating star field groups one after the other. The problem with that approach is that having to wait for an entire group to clear the camera before it was disposed of would inflict a big performance drag. Just as one should endeavour to write as little code as possible to accomplish a task, I realized that as few objects as possible needed to be rendered in the scene.
Improved Warp Speed
My improvement to the warp speed prototype was to make a new creation function that contained the loop for generating stars. I also finally dispensed with the unnecessary intermediate step of storing the references to the meshes in an Object and then adding that to an Object3D. Now I had a function that would generate ten stars randomly every time it was called. I placed this function call in the render loop, resulting in about 600 stars being randomly generated a second. I disposed of unwanted stars that had moved out of frame by setting a cutoff point on the z-axis, after which a star would be removed from the Object3D being rendered.
The resulting scene ended up being a lot less dense than my previous examples, but an ideal warp speed simulation with a continuous stream of stars. There is a distinct twinkling in the center of the simulation, a result of the distant box that the stars are created within. This could be reduced by moving the area where the stars are born farther back from the camera, but this would have a downside since there would be more objects in the scene at one time causing performance drag.
Rail game background
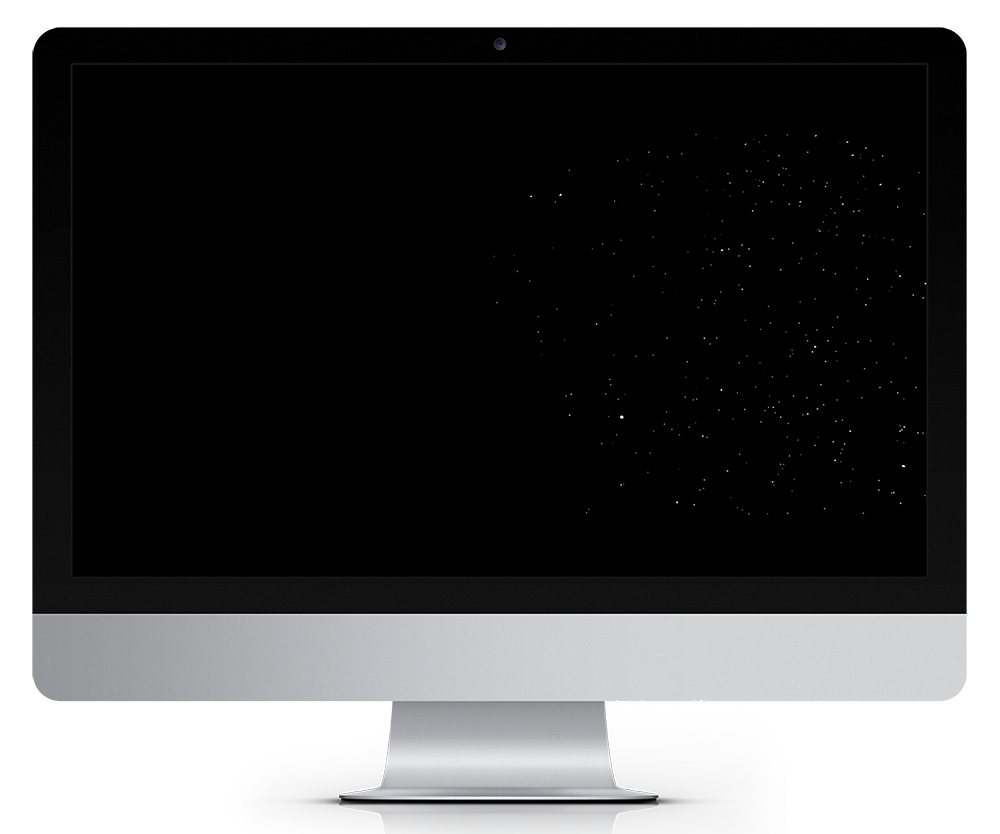
Once I had mastered how to animate, generate, and dispose of objects properly I adapted the warp speed simulation to function as a background for a rail space shooter where a ship ‘moves’ by having the background move from right to left. This required altering the code to randomly create stars in an imaginary box to the right of the camera. The disposal line was also changed to slightly off camera left.


