Origin of Idea
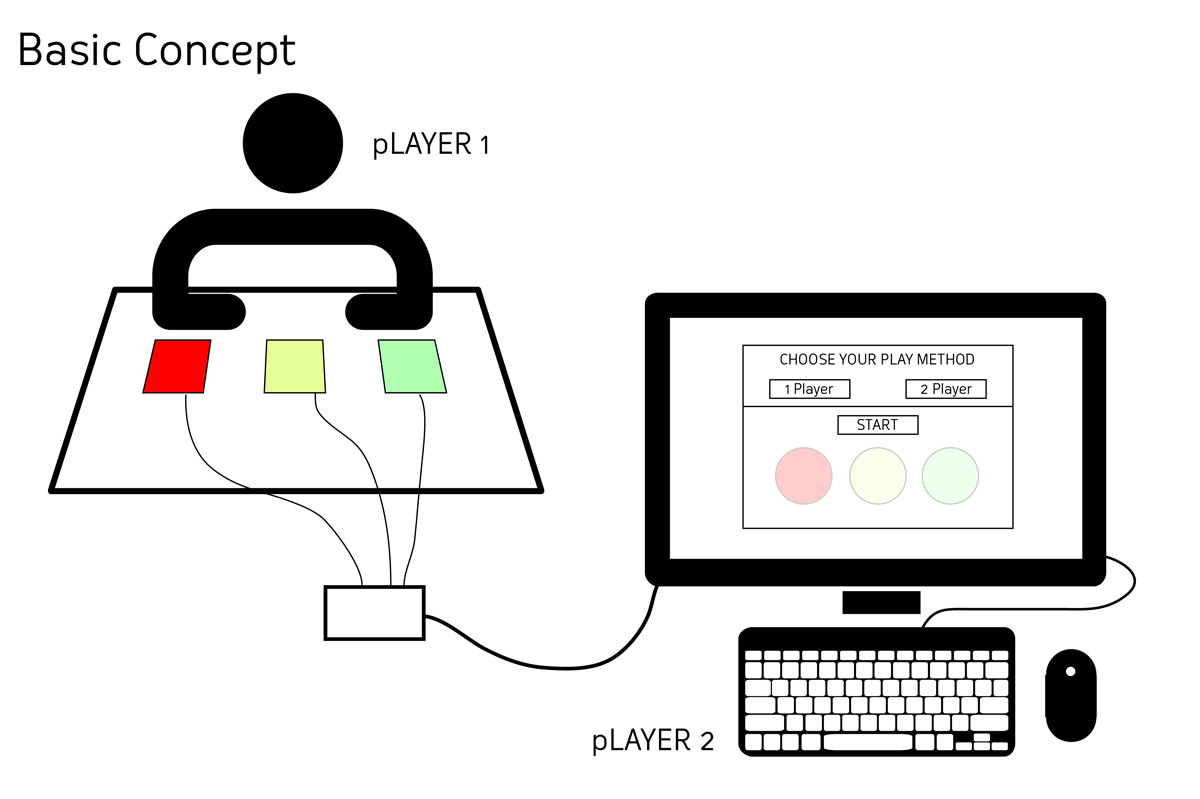
The initial idea for the Crazy Traffic Warden color memory game grew out of my desire to have an interactive game involving patterns and cognition. While sound sensors and microphones could use human activity as sources for generating patterns on screen, a program based on direct human input appealed to me. The simple test program for Arduino is a blinking LED, and I decided to take the idea of the simple light and add an element of creativity.
The Basic Program
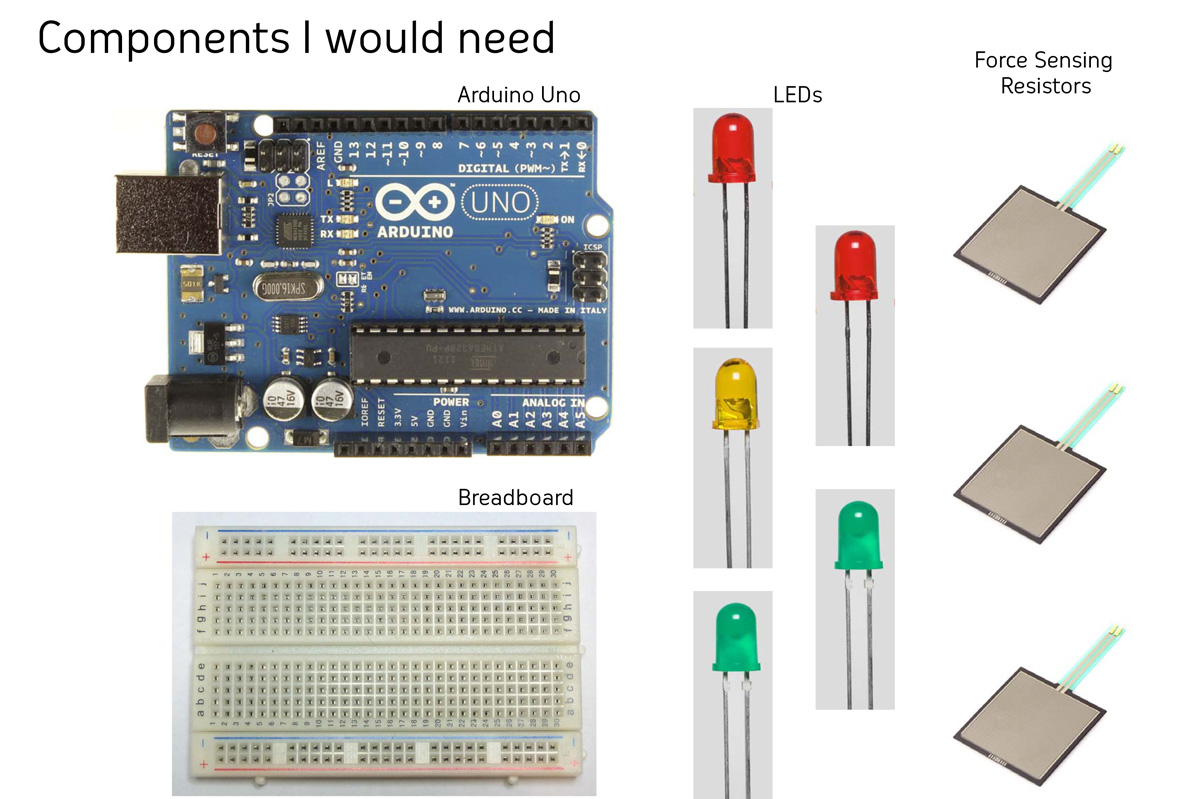
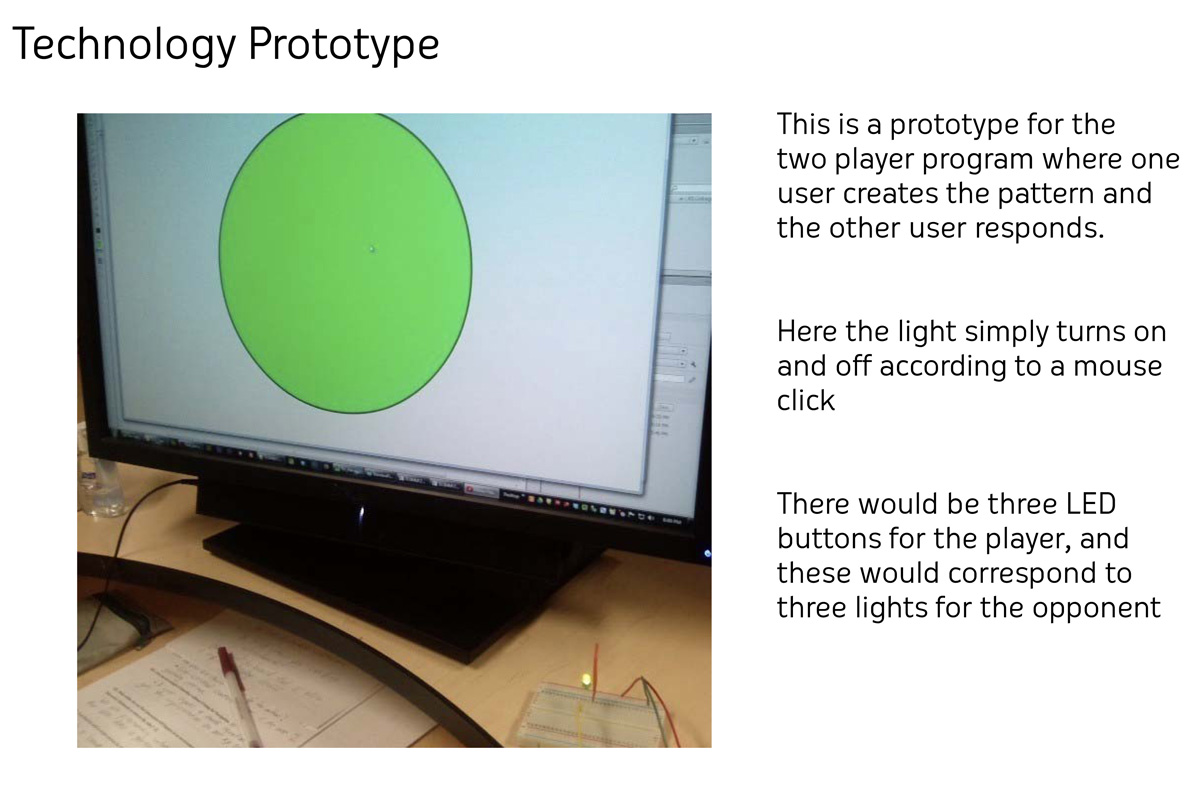
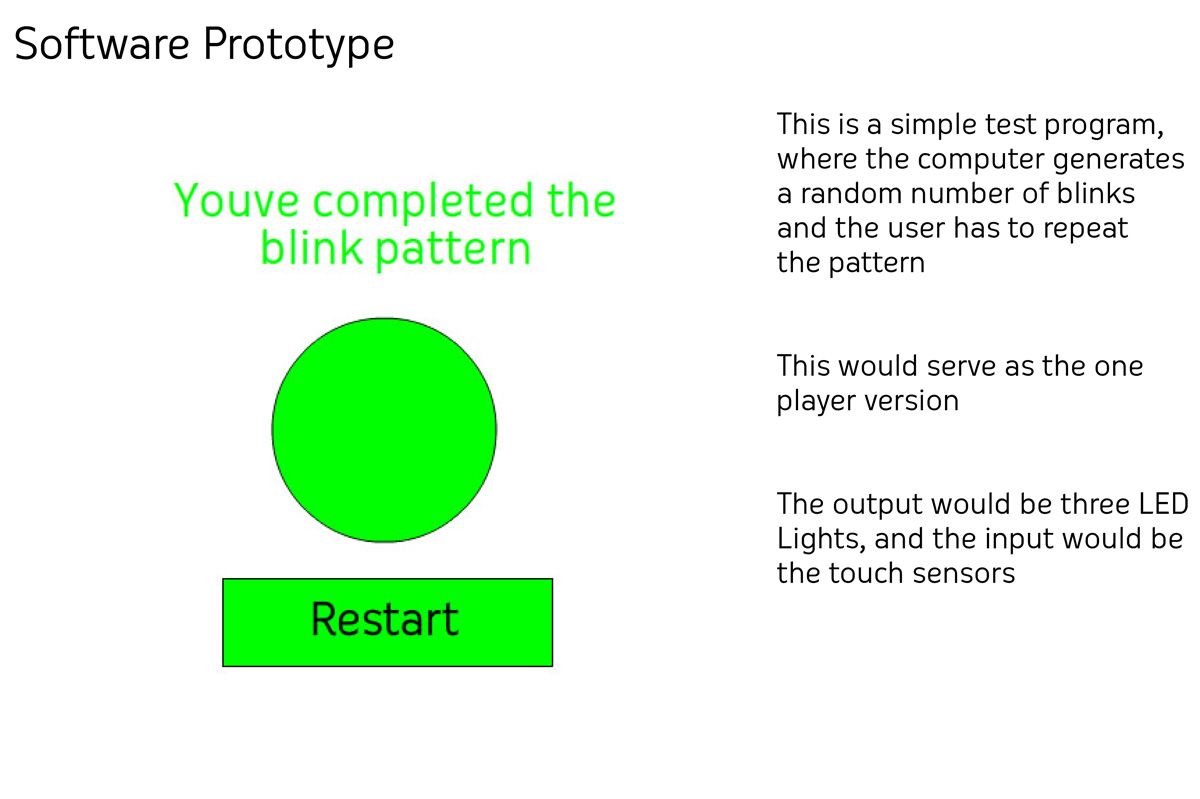
The basic challenge was linking a visual interface in Flash to the Arduino using AS3 Glue and a proxy server. Once the proxy server connection was running, I could create a simple program with one button controlling one LED on the screen. This introduced me to the basics involving writing and reading pin values on the Arduino, and linking a pin to a particular action, in my case a click on a stage object.

The code was a simple cycle where clicking on the circle changed its alpha to full and turned the light on. The cycle continued by adding a listener for a second click which would turn the light off and the alpha down low. Flash would then listen for a click to start the whole cycle over again.
Getting Arduino to work with Mac
Setting up the Arduino with the Mac was the first major stumbling block in working on the game. Mac OS X does not use the COM port convention of the PC, instead using verbose names for all of the connections that the computer can use to communicate. I encountered the following problems:
* had to determine the correct serial port
* wrong connection speed selected; initially selected 9600 bps when I was supposed to be using 57600 bps
* wrong configuration file used; initially forgot to rename the config file to include the osx extension
* Serpoxy program couldn’t find configuration file without the proper extension
Once I got past these barriers I was able to move on to the next step: three light control
The buttons
Working with three lights originally involved duplicating the single green button code three times and adding event listeners for activating and deactivating on all three buttons, resulting in a total of six programs. Realizing how much unnecessary code this involved I reformulated and made the targeted object whatever I had clicked on. This allowed me to use the same on/off code for all three lights.

Getting in Touch with Touch Sensors
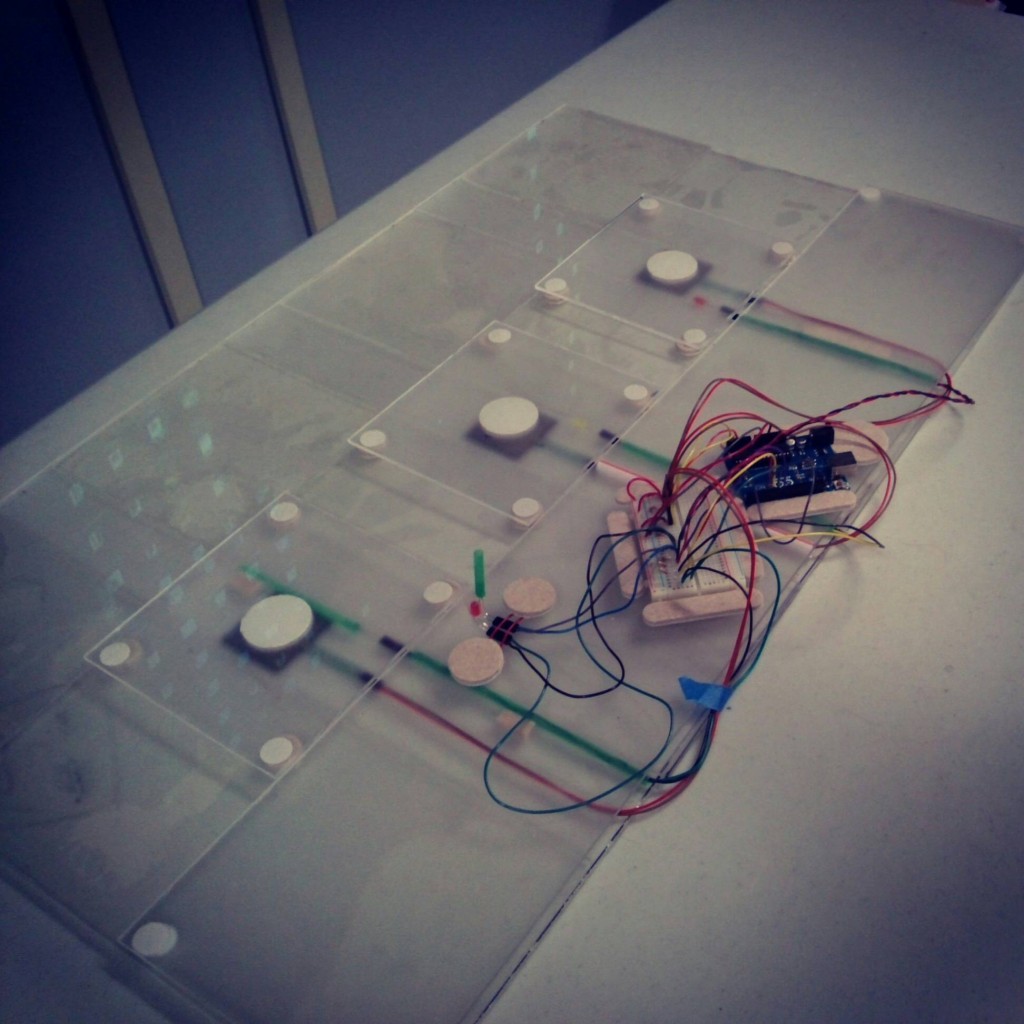
After I got the lights on respond to the computer control, the next step was getting the lights to respond to the second player using touch sensors. This would allow human input on the Arduino end of the game. The test of coordination would be one player having to repeat the color pattern they had received by tapping on panels of acyclic with a light underneath.
The first step involved using the AS3 Glue monitor to see what the feedback from the touch sensor looked like. Once I had this information I could begin developing the programs to activate the lights with sensor input.

Using the initial AS3 Glue program I quickly figured out that in order to get useful data, analog sensors had to be continuously read so as to not miss any inputs. The standard glue program had the natural background noise read by the analog pins on the Arduino sampled 20 times a second.
This frequency would produce a lot of unreliable results if someone pressed a sensor for too long. If Player Two produced unwanted sensor data, comparing their presses to the computer player presses would yield an error since there would be a capture mismatch. I therefore set the frequency lower to 6-10 times per second. Subsequent user testing convinced me to revise this value yet again and provide a way to adjust for different users (since some people hold down longer than others or need to apply force over a longer period).

When the light activation program was first written, a light would turn on when the corresponding touch sensor was pressed. A LED OFFprogram was written and called for, but it would not turn the lights off. It was then that I realized that timers needed to be used. A timer would begin when the touch sensor was pressed, and upon its completion the LED OFF program would run. This program would also be tied to the Player 1 (Computer User) clicking programs; this way the light would turn on for the same duration regardless of input (in theory).
User Testing
Once the touch sensors were successfully linked to the LEDs and the results recorded, the issue of tolerance and time remained. Too little time for collecting touch sensor input would cause Player Two to fail; setting the threshold or sample interval too low for the touch sensors would create a lot of undesired reads.
The basic AS3 Glue program sampled the analog pins 20 times per second. In order to adjust to a user pressing sensors, a variable was created that would control how often the touch sensors would be sampled; I eventually settled on 300 ms, or about 3.3 times per second, for the sample interval.
The total collection time was based off the sample interval and the number of clicks by Player One. This way the collection time would change depending on how long the sequence would be.

Program Logic
Once all the data was captured and lights working properly, the final element was actually running the comparison program to determine the score and if Player Two won.
There were a couple of challenges that I had to overcome in terms of the scoring logic:
-If the comparison program only ran for the length of the touch pad data array, Player Two could win even if they did not complete the number of lights Player One activated. If Player Two pressed three lights but the sequence was four, they would win because the comparison program would only check the first three entries in Player One’s array.
-If the comparison program ran for the length of the Player 1 (computer) array, Player Two could tap a touch sensor one time too many and that wouldn’t count against them.
The solution was to first check to see if either condition existed, and then automatically fail Player Two. If they did not do enough presses or did too many, they would lose. If either of these conditions wasn’t satisfied, then the comparison could begin since Player Two did the same number of presses that they received.
Future Things I Want To Do
-Build the game as independent touch pad units that can plug into the Arduino
-Build the entire game in an enclosure with easy plug-in-play connections for the units
-Add a way to filter our errors in the touch sensors (if someone holds for too long, eliminate readings except the first one)
-Add a calibration program that takes 10-20 presses and determines the average pressure

