This was a group project, on which I did nodeJS coding and threeJS coding for server and client side.
Initial Concept
The Crazy Pong game using LeapJS, nodeJS and threeJS began with an exercise that I did in Canvas 3D. The goal of the exercise was to create a bounding box for a ball along with surfaces to show the limits of where it could bounce.
Originally, the goal of the group project was to use threeJS to translate 2D creations of monsters into 3D models, then have these models viewable using an Augmented Reality app. After working with nodeJS for some time, the group decided to focus attention on creating a 3D game designed for multiple players.
The decision to use Leap Motion as the input interface was one of prior experience with the technology and suitability in terms of the capabilities of the technology.
Creating the game
It was decided to take the ball court example that I had done for a Canvas 3D demonstration and adapt it into a full-fledged squash-like game. As development began, the following points were identified as milestones to achieve:
-Multiplayer communication: send the position of one player paddle to the other player
-Physics: the ball would have to bounce off the walls and the paddles, so collision detection would be crucial
-Graphics: the basic threeJS example that the game would be based on did not have lighting or shadow and did not have all the necessary geometry to create an immersive environment
-Connection: the game would have to wait to start instead of running on page load so players could get ready, so gathering the players together and figuring out the sequence of actions to actually begin the game would be a challenge
-Paddle control: moving a player’s own paddle, figuring out how to have the opposing player’s paddle move on screen and track the hits on both sides
Basic physics
The original Canvas 3D bouncing ball experiment used a simple physics engine based on rectilinear surfaces. Since a sphere will always hit a perfectly vertical or horizontal surface at its equator or pole(s) respectively, the bounce action would be a simple inversion along whatever axis the collision occurred. If a ball struck the bottom of our ball court while heading towards the player’s left, it would continue going left and towards the player, but its vertical speed would be reversed so it would then head up towards to the top.
Paddle control
Taking a previously completed basic exercise involving moving a cube in threeJS using Leap Motion, a control program was created for a player’s paddle. LeapJS by default creates a data collection loop when a new Leap controller instance is created, which then outputs an object multiple times per second with all the data that the Leap controller collects. Some of the data points that Leap registers include the position of all fingertips and hands that it can recognize.
The initial threeJS and Leap exercise used the position of one finger tip to control the cube on screen. For a squash game it was decided to use the position of a hand instead, so the previous code was adapted to track that type of position instead.
Multiplayer Communication
Multiplayer communication proved to be the biggest challenge in creating the game. The first task that was to start the initial connection, which would occur as soon as a player loaded the game’s webpage. The game would be hosted on a local nodeJS server instance, allowing client and server side code in Javascript. The basic concept of nodeJS is that clients send data to the node server, which then causes the node server to execute a particular program and send data back.
As soon as a player connected to the game site, there needed to be a program that would identify them. The socket or session ID which node generates whenever a connection is created (a connection can just be a tab in someone’s browser, not just a single computer connecting) was identified and assigned to a client ID generated server side. This was used to create a user map with user IDs associated with their connections.
The next challenge was figuring out how to create a map that associated a player with their opponent. This was accomplished by storing the client IDs which were the keys in the user map object in a temp array as soon as there were two clients, then creating another object which then stored a key/value pair where the key would be one client ID, and the value would be the other client ID in the game.
The objective of all this was to transmit any data received from one player to the other player only. NodeJS is built around ‘on’ events and ‘emit’ events. Every ‘emit’ event begins with a name identifying it followed by an object with data. On the server side, nodeJS listens to the emits and identifies the context of the emit, the fires the appropriate ‘on’ function.
During development it was decided that there would have to be a few core events after the initial connection. Both players would have to constantly broadcast the position of their paddle to the server. The server would then have to process the data and send it to the opponent.
Initial attempts to use the Leap data collection loop to send the position information of a person’s hand bogged down the server. The initial game design had the game begin as soon as two players connected; the server would send out an emit that would tell both players to start the programs that drew their environments and animated their bouncing balls. Instead of having the emit event for sending the hand position in the Leap loop an interval event was created so that the Leap variables would be sent at a predetermined frequency. This action resolved the server communication issues.
The next challenge after getting the data from each player’s Leap sent to the server was getting the data sent to the opponents. This was accomplished using the opponent map object that was created when each player connected. Normally, a simple emit would send data to all socket connections, but by specifying an extra destination socket parameter, data could be sent to a specific socket. Since two players would be sending data to the server, the function that received data would fire twice. Each time it fired, it would take the data received and identify the sender, then look up their opponent and send the data to that opponent’s socket.
Graphics
The basic concept behind the graphics of the game was to have a court so the bounding area of the ball would be visible. Initially, this consisted of two simple planes for the top and bottom with their edges showing the extents of the court. Our second iteration had vertical walls on the sides to create a tube; the ends were still empty at this point.
Getting all the wall surfaces to appear on screen was a challenge at first, but this was due to overlooking the fact that threeJS only places material on one side of a surface by default. In order to get light to bounce off a material and make an object visible, the material had to be explicitly assigned to all surfaces. Once this issue was solved, all surfaces appear properly.
The final iteration of the court graphics had the 3D camera inside of a cube with an omnidirectional light source. This made the graphics much simpler since there is only one object instead of four for the court.
Paddle physics
The initial bouncing ball tutorial that the game was based on specified the movement of the ball in the x,y, and z using randomly generated numbers. The ball would then move every frame according to the speed specified for each axis. However, when adapting the ball physics to multiplayer, it was realized that speed variables would have to be set server side, or else every client would be generating speed variables independently and the balls would not be synched. The necessary code was placed at the very beginning of the server side program, then sent to the players when they connected.
The basic physics limits consisted of bouncing the ball left or right if it exceeded the x position of either side of the court. The y and z limits applied to the top/bottom of the court and the ends respectively. Once this was accomplished, there was still the matter of bouncing the ball off of the paddles themselves.
In order to accomplish this, all of the physics are done locally leaving the server just for passing the paddle positions. The first step was to constantly check if the ball x position fell intersected with a paddle, the check if the y positions intersected, and then the z positions. If all the checks were positive, then a collision is registered and the ball is bounced off the paddle.
The physics engine for the paddles only works if the ball is coming towards the player, saving on processing time. We decided to ignore the ball if it bounced off the back wall; as a result, it will simply pass through the paddle from behind.
Paddle graphics and sound
To improve the UI, a sound effect was implemented on a successful hit instead of relying on the score updating to let someone know they scored. Also, the color of the paddle changes to green for both players when they’ve scored a hit, further improving the feedback when there is a hit.
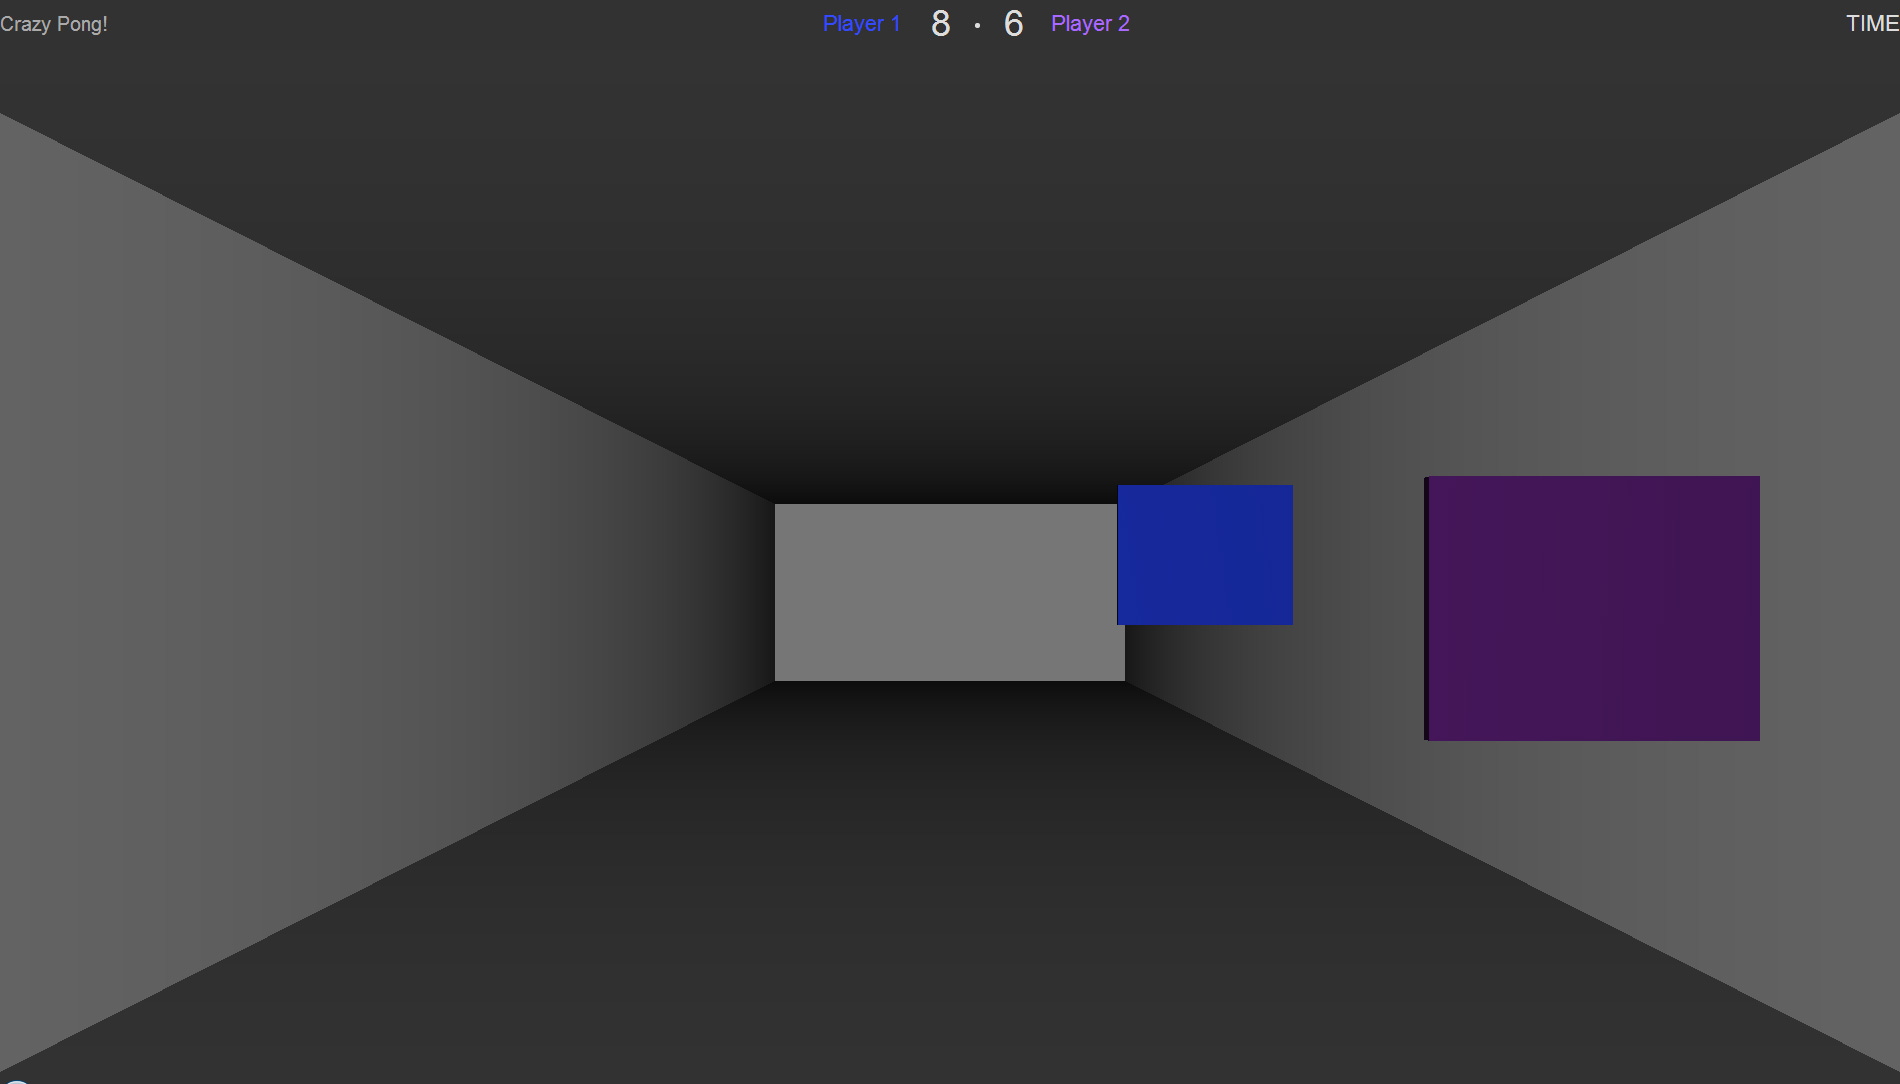
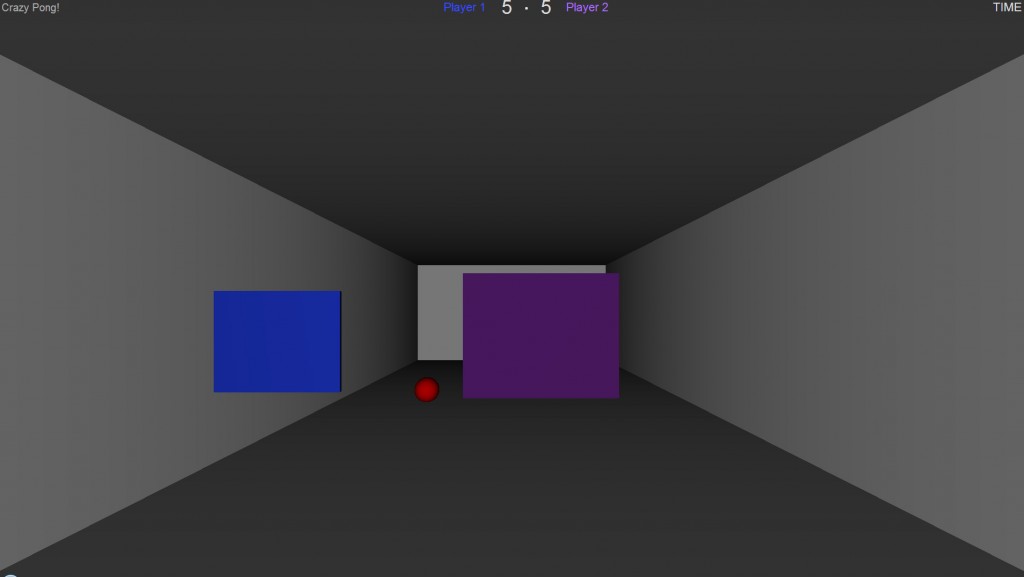
The color of the paddle is replicated in the top-most banner of the game, where each player’s label reflects the paddle color. This was implemented so that the player could recognize which score reflected their game-play.
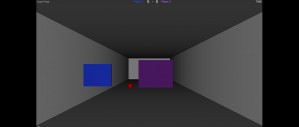
Screenshots

Github
The Github repository with the latest version of this project can be found here.